
Tuesday, 27 July 2010
These are a few shots of another sculpt I did today. Made in exactly the same material and way as the last, just a weird tapir man. These sculpts were made with a cocktail stick which I personally find is one of the best implements to use. I probably should firstly buy and then start using sculpting tools but at the moment I will stick with the cocktail stick.


Monday, 26 July 2010
These are a few shots of a small-scale sculpt that I made yesterday. I had realised I hadn't made a detailed sculpt for a while and decided it was perhaps time that I should. I hope to make another soon. The 50 pence piece is simply there to give a sense of scale. This sculpt is made in hard Plastiline so will not dry and altogether took about 3 and a bit hours to make.


Wednesday, 14 July 2010


 This is a model of the Nazi's car that I made for close-ups. It is only half the car because I was under the impression that I didn't need the whole car. This was true, however I wish I had made the whole thing because it would have given me more freedom shot wise. This car, like the cellos was sculpted in Milliput. In hindsight, I think I would have sculpted it in plasticine and then moulded it and cast it in resin.


 Now the 1.7th scale Jewish Puppet. This as I said before is the puppet that had to appear to play the cello and as such, it was the only one of my puppets to have a ball and socket armature. This I bought from John Wright Armatures. A ball and socket armature allowed me a much more realistic performance and more control over the animation. The armature as you can see from the photos was then covered with a skin of memory foam and latex.


 Now onto the Nazis. I chose to make the two Nazis in my film almost identical. This was because I wanted to capture their single mindedness and lack of individuality. I also chose not to give the characters apparent eyes. This, I feel makes them less human. Picture shows myself sculpting the head of the Nazi puppet.


 Ok! Now let's move on to character production. This image shows my first cast of my small scale Jewish character. This was a test in silicone to see if the mould had worked properly. This then allowed me to make a version using coloured silicone. The beard and hair (made using Milliput) I would then apply later. This head is for the 1.9th scale puppet which was used for distant shots.


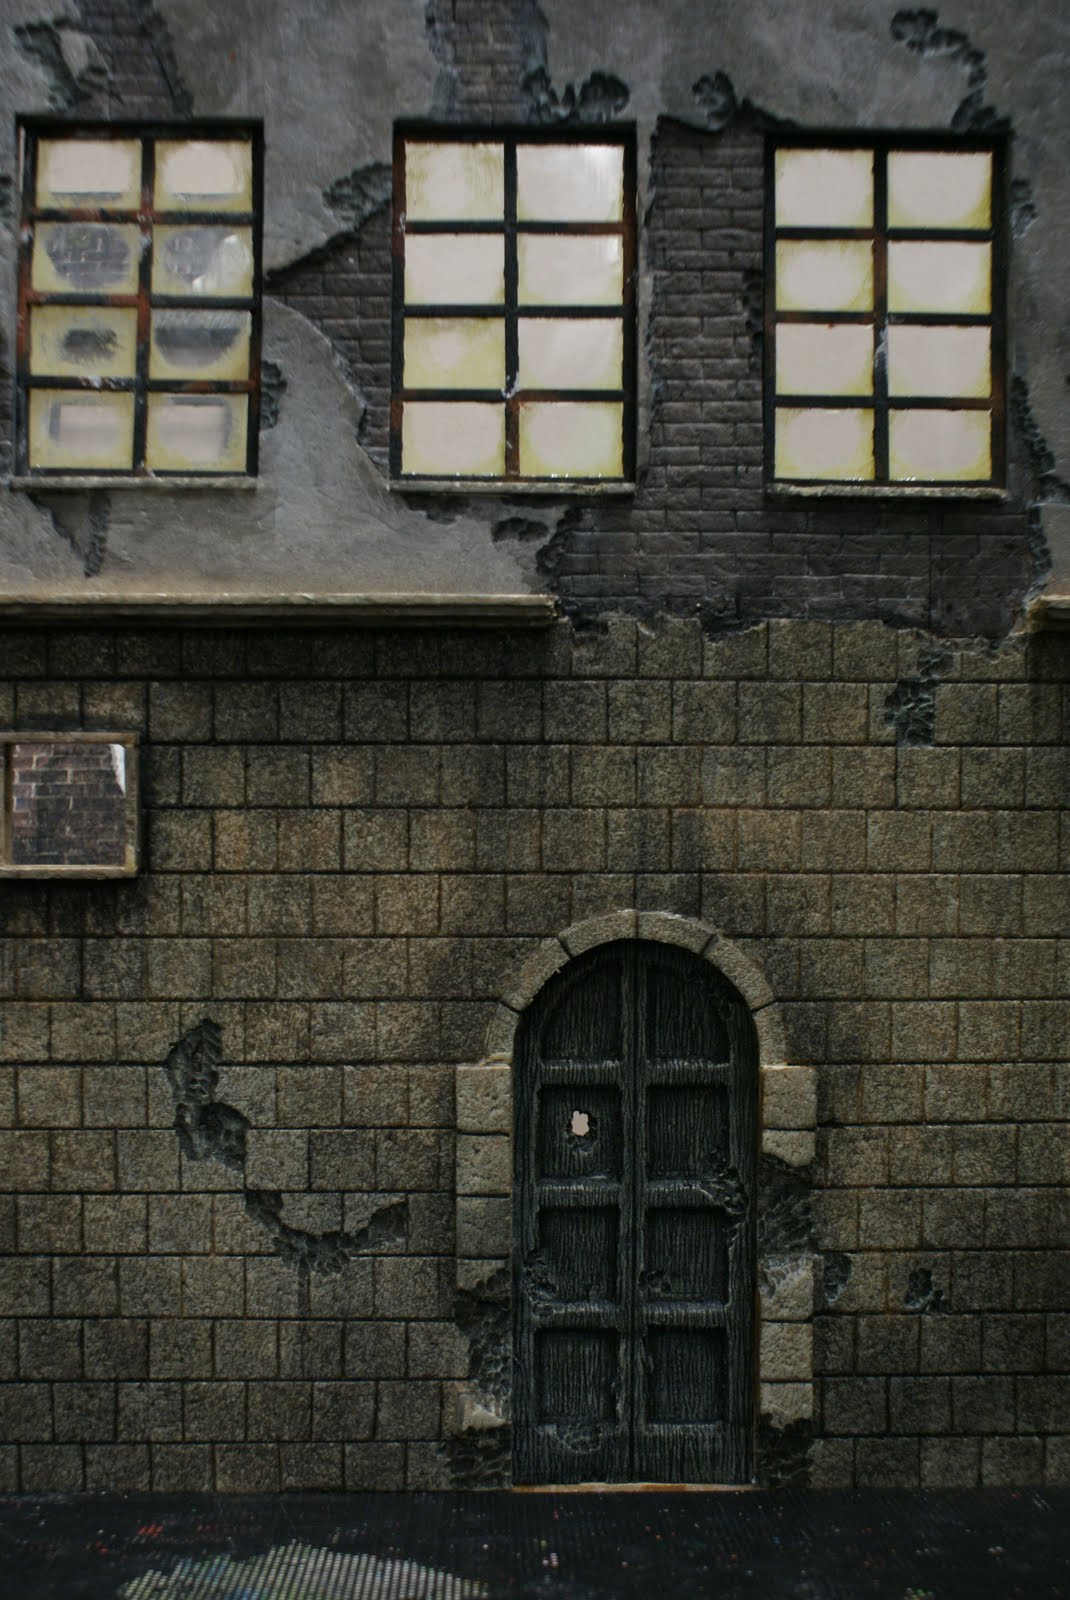

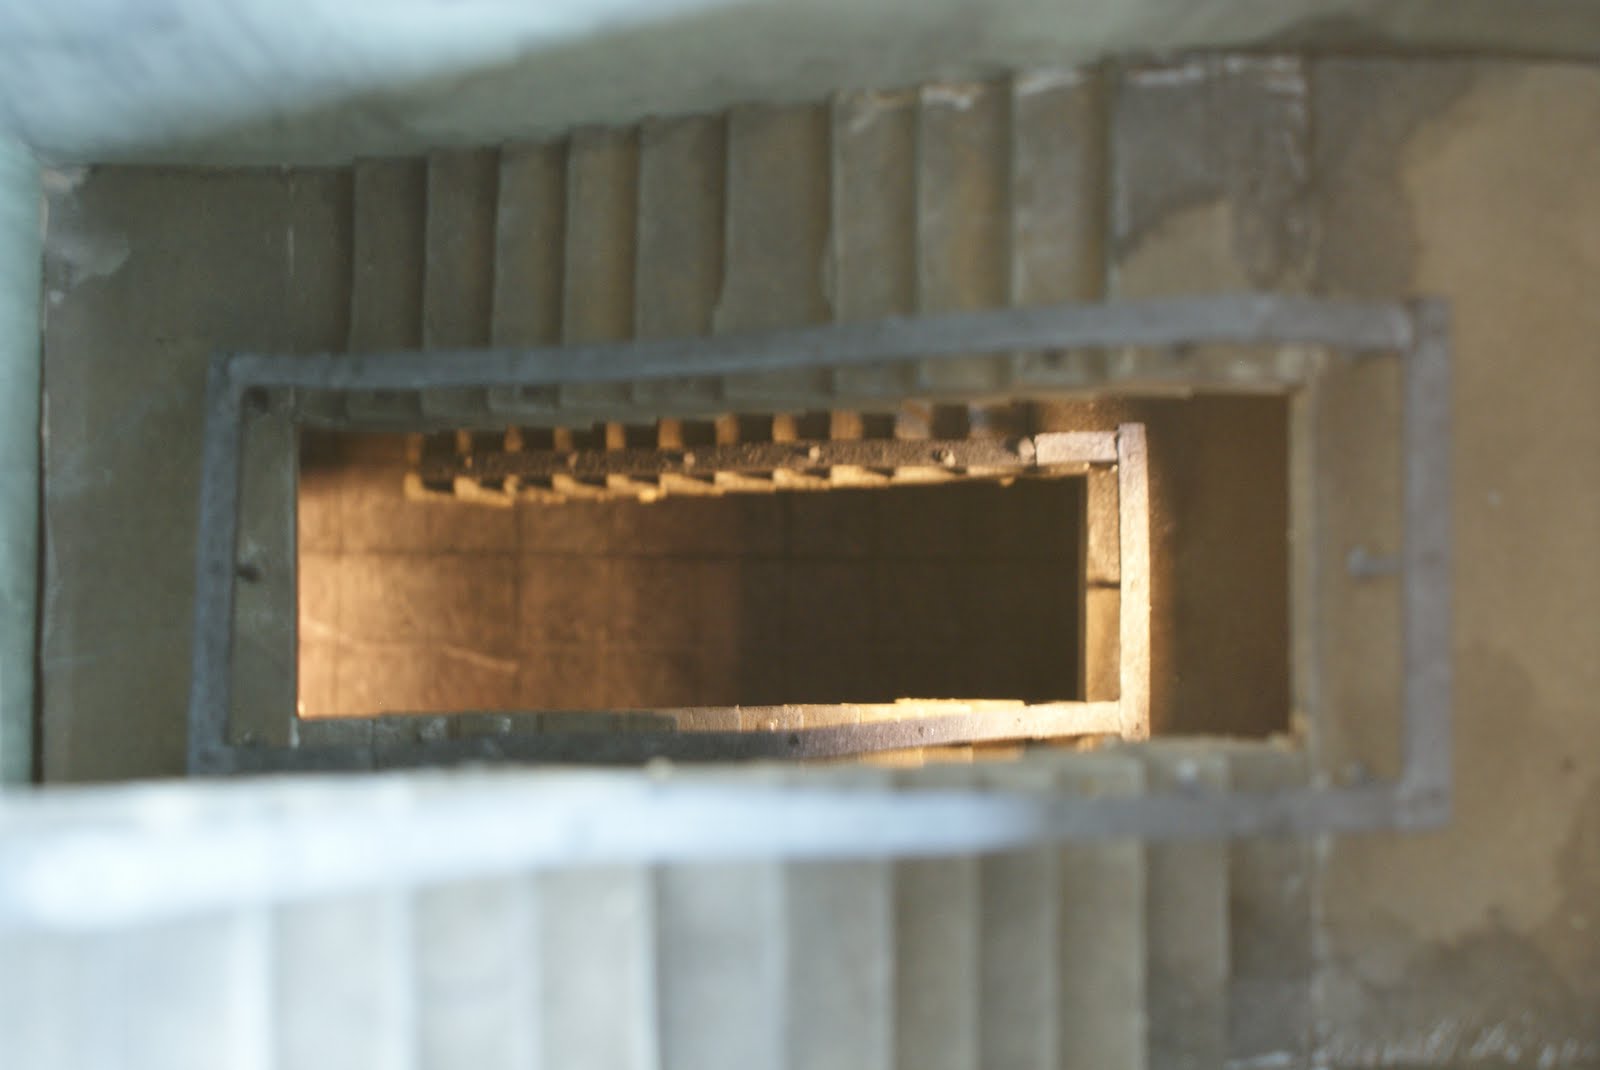
 Let's therefore start from the beginning which was when I made the two 1:9 scale buildings for my street set. This particular building detail was made in foamboard. This was the second of the buildings I made. The first is made from cast sheets of plaster which meant that the process was long and difficult and also meant the final result was very heavy. Using foamboard drastically reduced the build time and meant that the finished result was just as heavy as the MDF board underneath.
Subscribe to:
Posts (Atom)